


Views: 0 Author: Site Editor Publish Time: 2026-09-20 Origin: Site


Ever spent hours meticulously spraying a bumper, only to watch it peel away in jagged flakes a few weeks later? It is a frustrating nightmare for any collision shop. Modern car bumpers rely heavily on Polypropylene (PP) plastic. While incredibly resilient on the road, automotive paint simply cannot stick to raw PP without a chemical bridge.
In this comprehensive guide, we will break down exactly why utilizing a dedicated PP plastic primer is absolutely non-negotiable for automotive repairs. You will discover how to properly prep the surface and the exact steps required to achieve a flawless, factory-quality finish that actually lasts.
Let's look at the bigger picture on the shop floor. The automotive industry is rapidly shifting toward lightweight manufacturing. With the massive boom in electric vehicles (EVs) and strict fuel-efficiency standards, OEMs are replacing heavy metal panels with advanced, flexible thermoplastics like PP and TPO to maximize range.
Industry analysts note that this massive adoption of lightweight plastics has fundamentally changed collision repair. Modern bumpers are thinner and flex more than older models. Consequently, traditional mechanical-only prep methods fail completely on these modern, ultra-flexible substrates. Collision centers are increasingly updating their standard operating procedures (SOPs) to mandate advanced chemical bonding agents. Shops that fail to adapt are facing costly comebacks and ruined reputations.
To achieve a durable paint finish, you must understand the underlying chemistry of the substrate. Most contemporary OEM bumpers are manufactured using Polypropylene. You will usually find this identified by stamps such as PP, PP/EPDM, or TPO molded into the back of the cover.
Polypropylene is favored by manufacturers because it absorbs impacts beautifully. However, these exact properties make it notoriously difficult to paint. PP plastics possess what chemists call "low surface energy." In practical terms, the surface acts just like a non-stick cooking pan. Water beads up and rolls off. Standard automotive paints and traditional metal primers behave the exact same way—they simply sit on the surface, lacking the mechanical grip required to form a permanent bond.
This is precisely where a specialized automotive plastic primer becomes essential. Unlike standard primers that rely on mechanical adhesion (gripping into sanding scratches), a dedicated PP adhesion promoter contains specific solvents and resins. When applied, these chemicals slightly melt or "bite" into the microscopic top layer of the plastic. This reaction creates a permanent chemical cross-link between the raw substrate and the subsequent layers of paint. Without this critical bridge, the paint film will inevitably snap under minor stress or temperature fluctuations.
Furthermore, a common point of confusion in automotive refinishing is understanding the distinct roles of various undercoats. Applying the wrong product, or applying them in the incorrect order, is a primary cause of coating failure. The breakdown below outlines the specific functions of each product layer.
Product Type | Primary Function | Application Surface | Visual Characteristics |
|---|---|---|---|
Plastic Adhesion Primer | Creates a chemical bond between raw PP plastic and paint layers. | Bare, scuffed plastic only. | Usually clear, silver, or slightly tinted; very thin consistency. |
High-Build Bumper Primer | Fills in sanding scratches, pinholes, and minor surface imperfections. | Over adhesion primer or existing sanded paint. | Thick, opaque (often grey or black); requires block sanding. |
Paint Sealant | Provides a uniform color base and prevents basecoat absorption. | Over sanded high-build primer. | Smooth, thin, non-sanding layer applied before basecoat. |
How do you translate coating theory into shop floor reality? You need actionable specifications. When selecting a car bumper paint primer, you must match the product's engineering to your specific workflow.
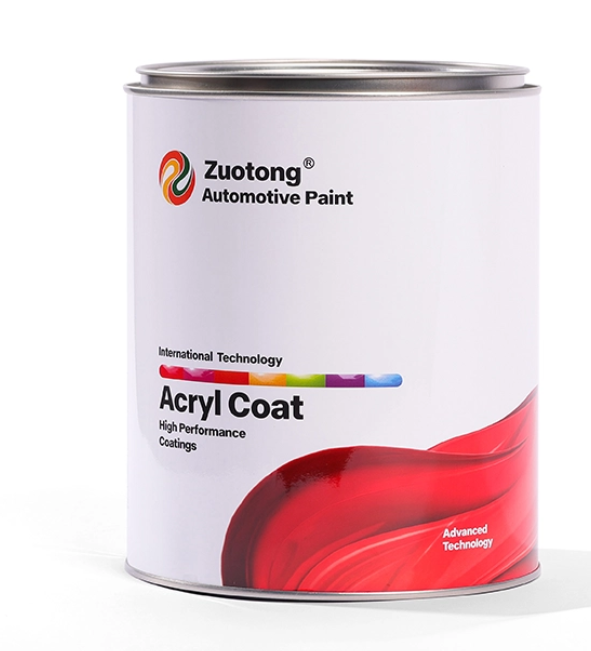
For instance, high-performance options like the ZUOTONG Z9001R 1K Grey Plastic Primer are engineered specifically for fast-paced repair bays. It is a single-component (1K) system. This means no hardener is required, eliminating mixing errors and saving valuable time. It offers exceptional adhesion not just on PP, but also on PA, ABS, and EPDM plastics. With a rapid flash time of just 10 to 15 minutes at 20°C (68°F), it keeps the spray booth moving. You want a product that sprays thin, dries incredibly fast, and bites hard into the substrate.
Achieving an OEM-quality finish is highly dependent on methodical execution. The preparation phase directly dictates the longevity of the entire paint job. Shortcuts here will cost you later.
Deep Cleaning and Degreasing
New and used bumpers alike are covered in mold-release agents, road tar, and invisible silicone oils. Begin by washing the entire bumper thoroughly with warm water and grease-cutting dish soap. Rinse it completely and blow it dry with compressed air. Next, apply an automotive wax and grease remover. The "two-towel method" isn't just a suggestion; it's a rule. Spray the remover on, wipe it with a clean, wet microfiber towel to lift the contaminants, and immediately follow with a dry towel to remove the residue before the solvent evaporates.
Sanding and Scuffing the PP Surface
Raw polypropylene must be mechanically abraded. Grab a grey scuff pad combined with a scuffing paste, or 600-grit wet sandpaper, to remove the glossy finish from the plastic. You should physically feel the pad biting into the surface. Pay special attention to the recessed areas, fog light edges, and complex curves. The goal is to completely dull the plastic. If any shiny spots remain, the paint will peel there. Period. After sanding, repeat the degreasing process to remove all plastic dust.
Applying the Adhesion Promoter
Once the surface is clean, dry, and chalky-dull, it is time to apply the adhesion promoter. Shake the product thoroughly. Apply one light, even coat over all exposed bare plastic. Do not attempt to achieve heavy, wet coverage. A light dusting is all that is required to initiate the chemical bond. Allow the primer to flash off according to the manufacturer's technical data sheet (TDS)—typically 10 to 15 minutes.
Applying High-Build Primer and Block Sanding
After the adhesion layer has flashed, apply two to three medium wet coats of high-build primer. Allow proper flash time between each pass. Once fully cured, apply a dry guide coat (a contrasting black powder). Use 800-grit wet sandpaper wrapped around a flexible block to sand the bumper. The guide coat will highlight low spots and deep scratches. Continue sanding until the surface is entirely smooth like glass.
In addition to raw plastic, a frequent point of confusion involves brand-new aftermarket bumpers. When you order a replacement part, it often arrives with a smooth, matte black coating. Many novice technicians assume this surface is ready for immediate basecoat application. Unfortunately, treating this factory coating as a reliable foundation is a massive mistake.
This black coating is commonly referred to as "transit primer." Its primary function is not to provide chemical adhesion for your paint system. Instead, it is applied solely to protect the raw plastic from UV degradation and minor scuffs during international shipping. It is typically a low-grade 1K acrylic that lacks the resins to cross-link with modern basecoats. If you apply a high-quality automotive refinishing primer directly over it, the new paint will stick to the black coating, but the black coating will eventually delaminate from the plastic.
Always perform a solvent test. Dampen a clean rag with lacquer thinner and rub it firmly against the black primer for 10 seconds. If the coating immediately softens, smears, or exposes bare plastic, it is a cheap transit primer. It must be completely stripped or heavily scuffed off. Once bare PP is exposed, restart the prep process with a dedicated adhesion promoter.
Achieving an elite finish goes beyond just buying the right chemicals. The application environment and your technique play a critical role.
Mind the Temperature
Automotive paint systems rely on precise chemical reactions. Applying a primer in extreme cold or high humidity compromises the coating. If the ambient temperature is below 60°F (15°C), solvents cannot evaporate correctly, leading to solvent entrapment. Aim to spray in a controlled environment between 70°F and 75°F.
Do Not Rush Flash Times
Ignoring mandatory flash times between coats is a rookie mistake. Flash time is the window required for volatile solvents to evaporate. If you spray a second coat before the first has flashed, you trap those solvents. As they eventually force their way out, they create microscopic pinholes known as "solvent pop."
Keep Bare Hands Off
Human skin naturally secretes oils and lipids. If you touch a meticulously prepped bumper with your bare hands, you deposit a microscopic layer of oil. When you spray over that fingerprint, the oil acts as a barrier. Weeks later, the paint will bubble exactly where you touched it. Always wear clean, powder-free nitrile gloves.
Refinishing a bumper requires patience, precision, and correct chemistry. You must respect the unique low-energy properties of PP plastic and understand that mechanical sanding alone is never enough. Proper prep work prevents future peeling and flaking, ensuring a professional, long-lasting OEM finish that can withstand the rigors of the road.
Ready to eliminate paint peeling and upgrade your collision center's prep process? Don't risk your reputation on subpar undercoats. Explore high-performance solutions and find the perfect plastic adhesion primer for your next job at Zuotong Paint today.
No. Regular metal primers lack the specific chemical solvents and resins required to grip Polypropylene (PP) plastic. Without a chemical bridge, standard primer will eventually flake off. You must use a dedicated plastic adhesion promoter first to establish a secure bond.
Generally, dedicated 1K plastic adhesion promoters are sprayed incredibly thin and do not require a flex additive. However, the subsequent layers—such as 2K high-build urethane primers and clear coats—often require an elastomeric flex additive to prevent the rigid paint from cracking when the plastic bumper flexes.
While epoxy primer is excellent for bare metal and preventing rust, it does not have the chemical bite required to adhere to low-energy plastics like PP or TPO. You must apply a plastic adhesion promoter first, and then you can apply epoxy or urethane primer over it.
For a plastic adhesion promoter, 1 to 2 light, dusting coats are usually sufficient. Do not apply it heavily, as pooling solvents will weaken the bond. For the subsequent high-build filler primer, 2 to 3 medium-wet coats are standard to fill in sanding scratches.
Yes. Raw plastic must be thoroughly cleaned, degreased, and mechanically scuffed (typically with a grey automotive scuff pad or 600-grit wet sandpaper). This removes the glossy manufacturing finish and mold-release agents, creating a dull profile for the primer to interact with.
Adhesion promoters usually flash off and dry very quickly, typically in 10 to 15 minutes at room temperature. High-build filler primers, however, may take 1 to 2 hours to fully cure before they can be safely wet-sanded. Always verify exact drying times on the specific product's Technical Data Sheet (TDS).


